


Featured Teacher Resources
SAAM's education resources use artworks as invitations to explore historical eras, literary themes, and connections to the present day. Contextualized within the people, movements, and stories of the United States, these artworks provide rich opportunities to uncover complexities and perspectives and put new knowledge to use.

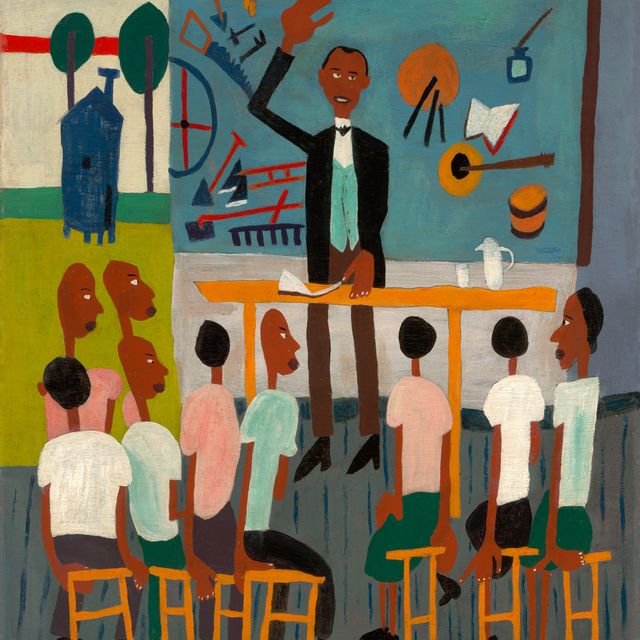
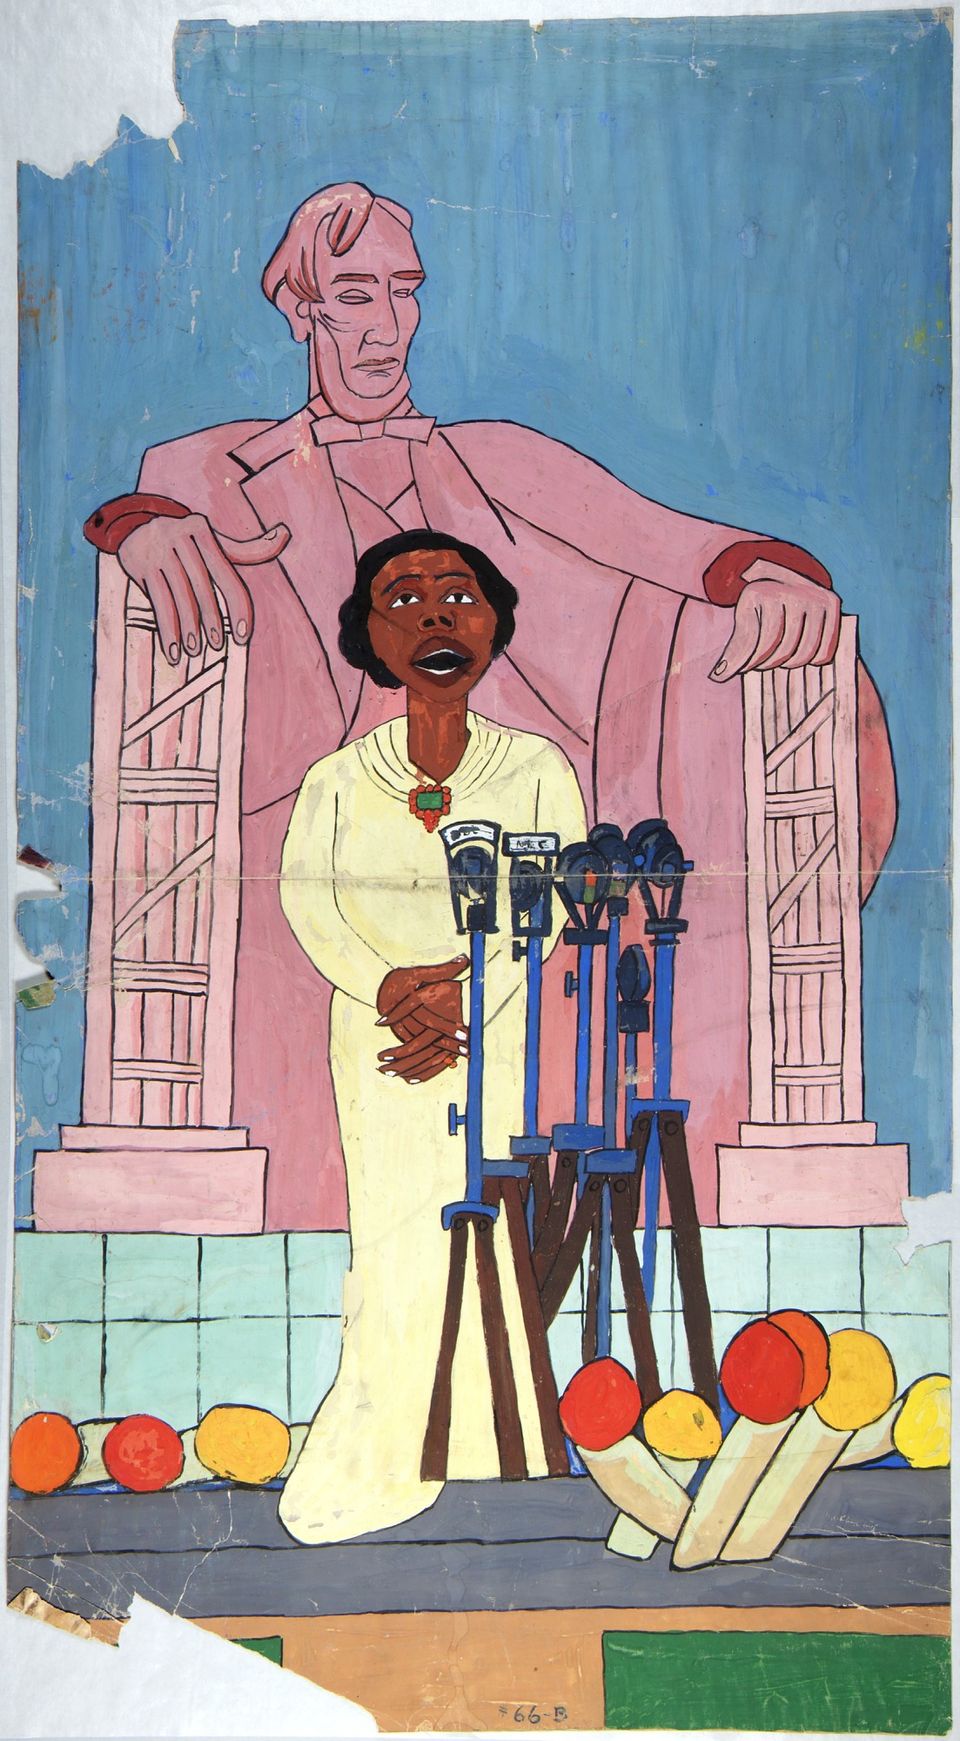
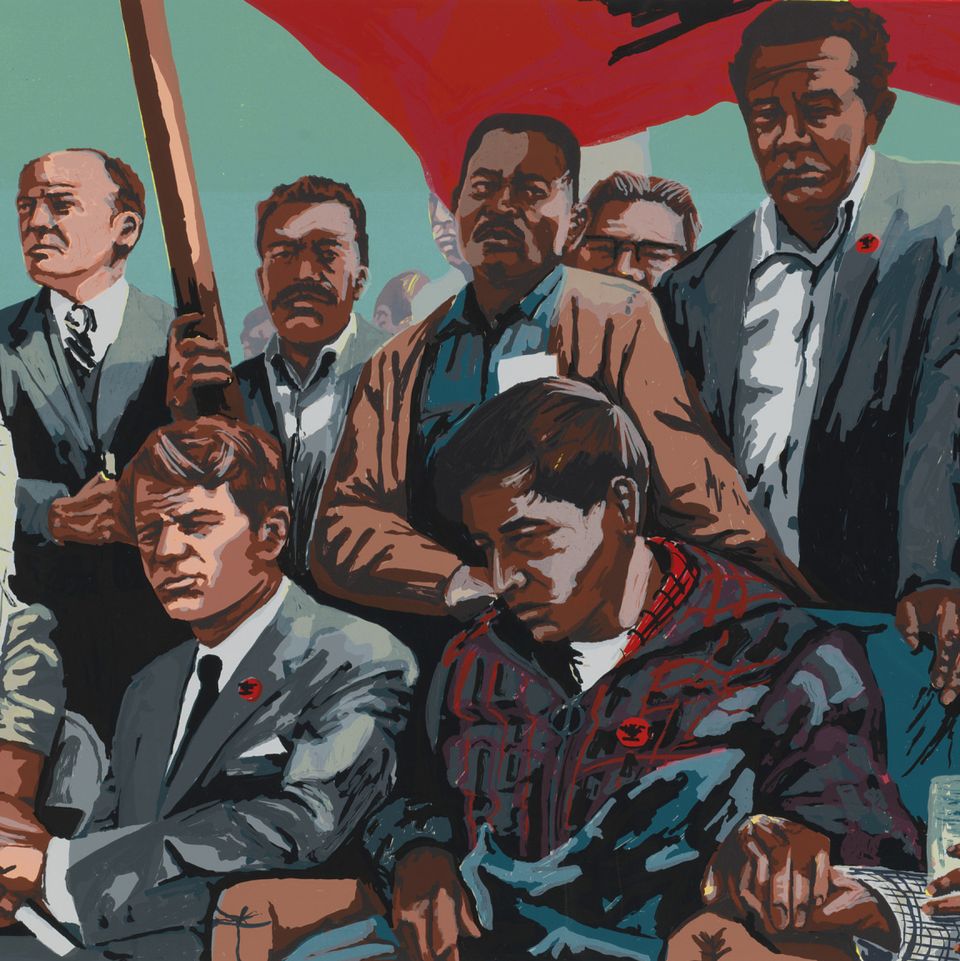
Decode imagery and discover hidden stories in artist William H. Johnson's Fighters for Freedom series, painted in the mid-1940s. Reflect on connections between the individuals portrayed, from iconic to lesser-known, and how past struggles for justice may relate to the present.
Primary Subject and Grade: U.S. History 6-12, Visual Arts 6-12
Components: Contextual Essays, Primary Sources, Observation and Interpretation Activity, Images, Background Information, Artist Bios
Standards: U.S. History Content and Historical Thinking Standards, Visual Arts Observation and Interpretation Standards
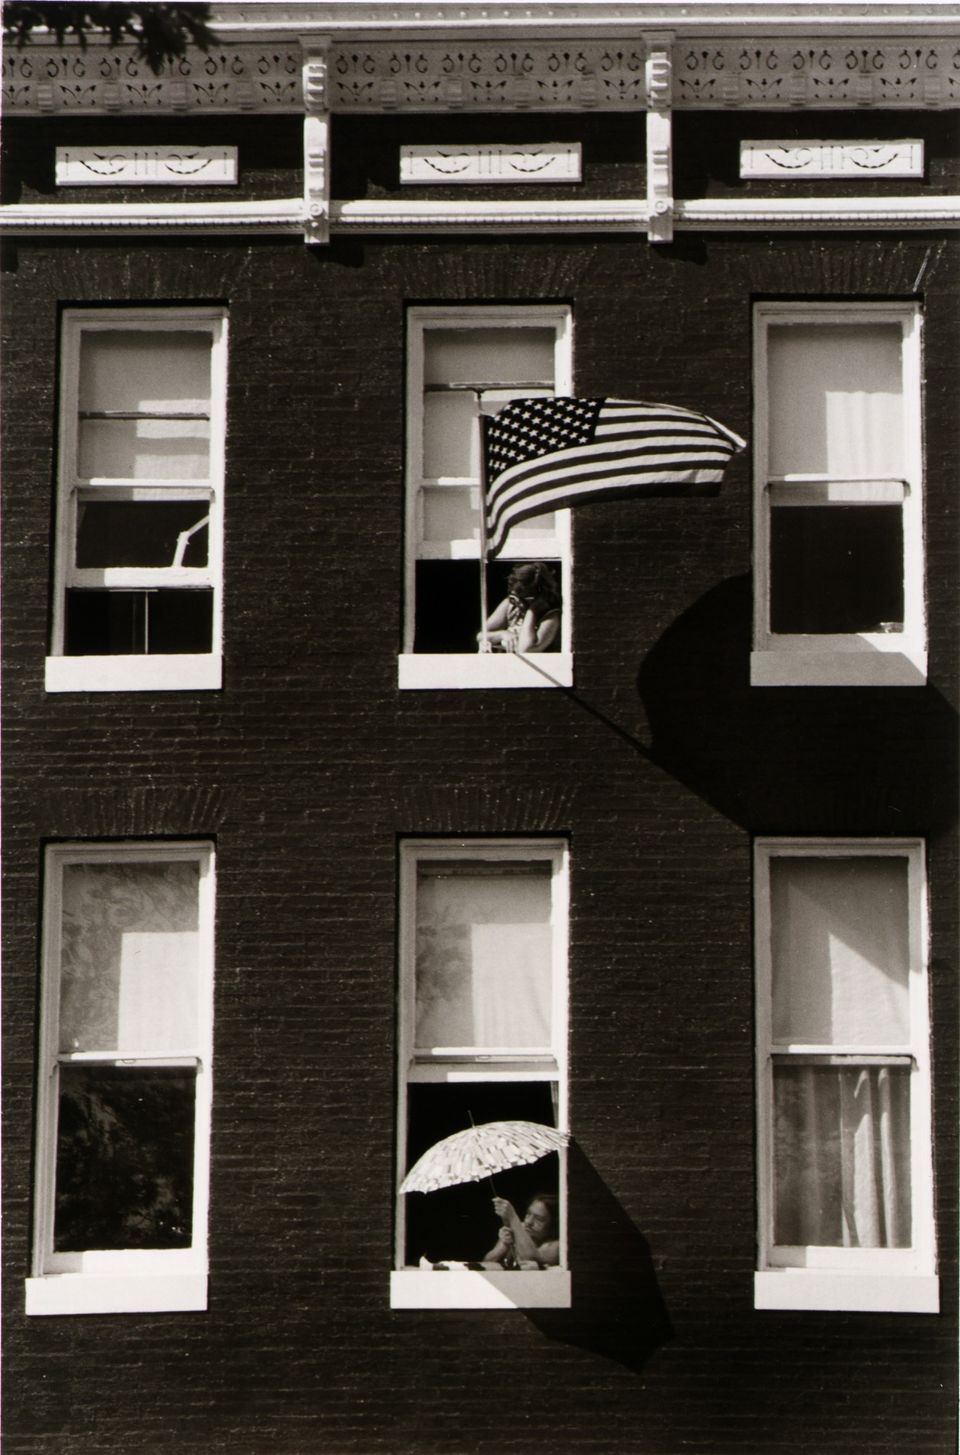
From 1976-1981, the National Endowment for the Arts (NEA) sponsored a program of photographic surveys in 55 communities in 30 states across the United States. These surveys created a new visual record of a changing nation.
This resource uses those images (or any photographic survey) as source documents to spark sustained inquiry. Begin with an Analysis activity to provide foundational visual literacy and analysis skills. Then choose to “stack” any of the Lesson Extensions, which uncover images’ complexities, their historical context, or the work of documenting a community. Each activity challenges students to access prior knowledge and apply it in a novel context.
Grade level: 6th-12th grade
Materials: Each activity will require access to print or electronic reproductions of select images
Standards: Visual Arts, CCSS Standards, and C3 standards

Engage students with thinking patterns and artworks that build understandings transferrable across classroom curriculum and into the wider world.
Primary Subject and Grade: U.S. History 4-12, Language Arts 4-12, Visual Arts 4-12
Components: Lesson Plans, Student Packets, Contextual Essays, Primary Sources, Literary Connections, Observation and Interpretation Activity, Images, Background Contextual Information, Artist Bios
Standards: U.S. History Content and Historical Thinking Standards, Language Arts Reading, Speaking and Writing Standards, Visual Arts Observation and Interpretation Standards
Investigate paired artworks that bring to life key moments in our nation's history. Explore the thematic threads that connect artworks across historical eras.
Primary Subject and Grade: U.S. History 5-12 Primary Subjects and Grades: U.S. History 5-12, Language Arts 5-12, Visual Arts 9-12, Civics 9-12
Components: Contextual Essays, Primary Sources, Literary Connections, Observation and Interpretation Activity, Media, Interactive Timeline, Glossary, Curriculum Connections, Core Concepts
Standards: U.S. History Content Standards, Historical Thinking Standards
Drawing connections among art, history, and social change, Oh Freedom! provides educators with tools to help students re-imagine and re-interpret the long struggle for civil rights, justice, and equality in fresh ways.
Primary Subject and Grade: U.S. History 5-12
Secondary Subject and Grade: Civics 9-12, Language Arts 5-12, Visual Arts K-12
Components: Images, Background Contextual Information, Artist Bios, Audio/Video, Interactive Timeline, Lesson Plans, Glossary, Bibliographies
Standards: U.S. History, Civics, Language Arts, Visual Arts
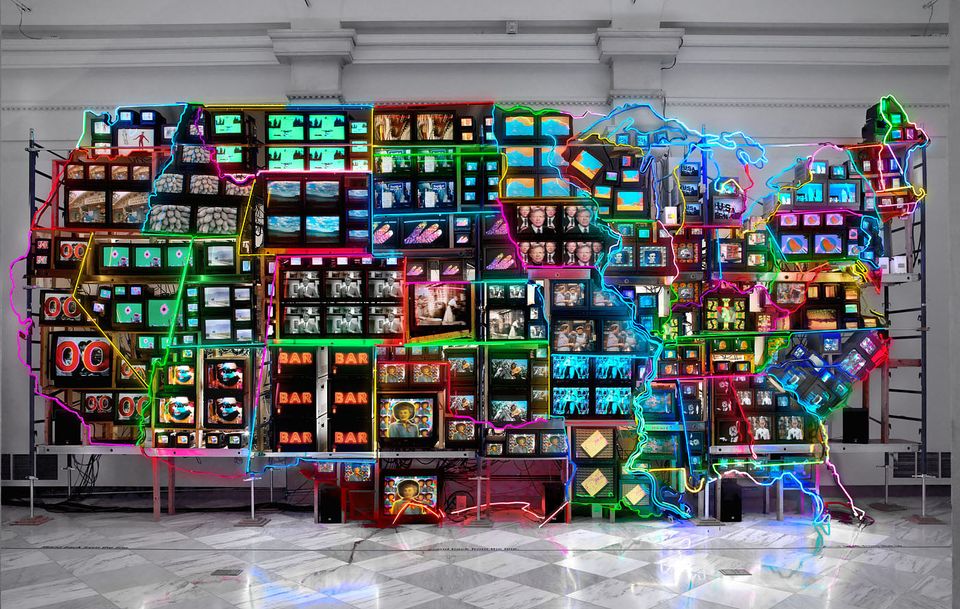
The Smithsonian Learning Lab is a free, interactive platform for discovering millions of authentic digital resources, creating content with online tools, and sharing in the Smithsonian's expansive community of knowledge and learning.
Grade Level: K-12
Components: Images, Primary Sources, Background Information, Audio/Video, Curricular Connections, Teaching Strategies
Standards: U.S. History Content and Historical Thinking Standards, Language Arts Reading, Speaking and Writing Standards, Visual Arts Observation and Interpretation Standards, Next Generation Science Standards
Themed Resources


Sign up for our Teacher Resources e-mail list (select "Teacher Resources" checkbox).